

Installation
Requirements
Your server must provide:
- PHP 8.2 or later. The wizard refuses to continue on older versions.
- The PDO extension with the
pdo_mysqlorpdo_sqlitedriver. - A database. Kleeja works with MySQL, or with SQLite when
pdo_sqliteis available.
ZipArchive PHP extension as well. Kleeja installs without it, but you need it to install plugins and styles and to upgrade to newer Kleeja versions.Download Kleeja
Download the latest version of Kleeja from the releases page:
Upload Kleeja files to your website
After downloading Kleeja you will have a zip archive. Extract it and you will get a folder titled kleeja.
- The
kleejafolder is what you have to upload to your website using any FTP application. - You can rename the
kleejafolder to anything you like, such asup— short for upload. - If you don't want Kleeja to live in a sub-folder, upload only the contents of the
kleejafolder to your website. You will then get Kleeja onexample.cominstead ofexample.com/kleeja.
Open the installation wizard
Using any browser, open this link:
example.com/kleeja/install
Where:
example.comis your domain.kleejais the folder where you uploaded the Kleeja contents.
If you open example.com/kleeja before installing, Kleeja sends you to the wizard automatically.
Installation wizard steps
A progress bar at the top of the wizard shows its seven stages: Language, Welcome, License, Requirements, Database, Site setup and Finish. Use the Previous button to go back a step. The top bar also lets you switch the wizard language or turn on dark mode at any time.
Choose your language
The wizard first asks you to choose its language. Click English or العربية to continue.
Read about Kleeja
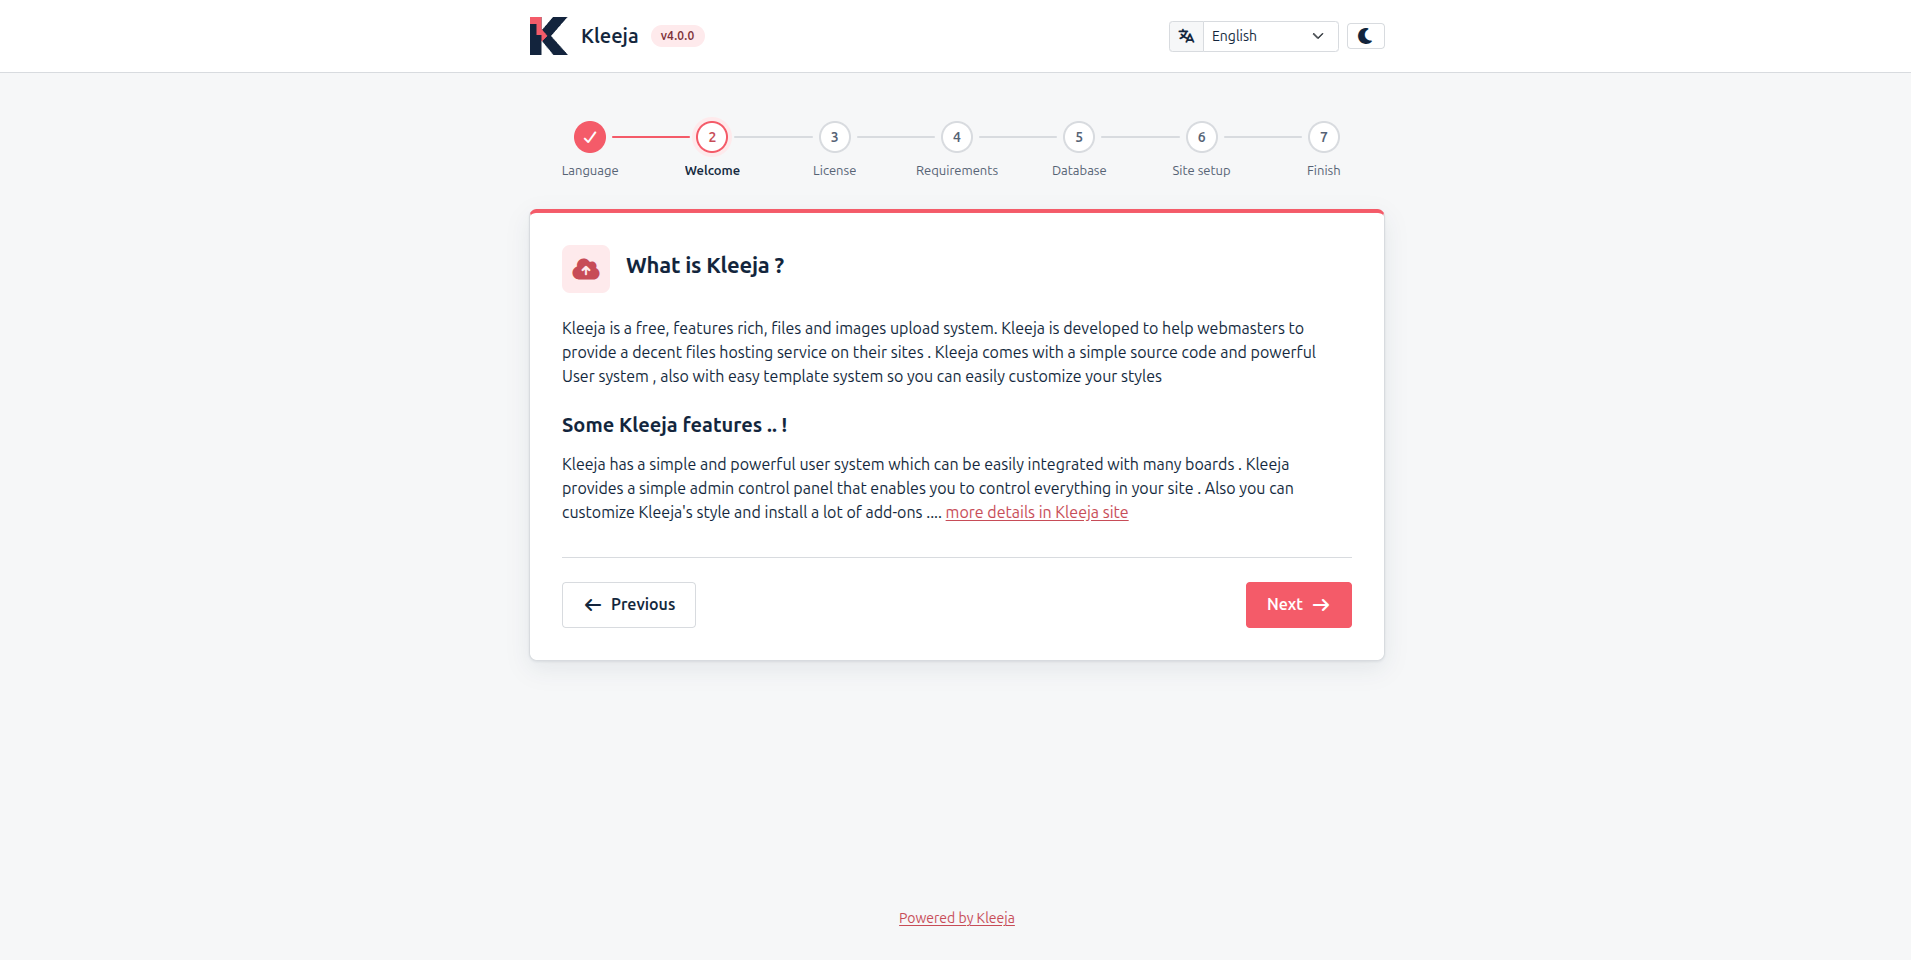
The Welcome stage opens with a short introduction to Kleeja and its features. Click Next.
Confirm your copy is official
The wizard asks whether you downloaded Kleeja from kleeja.net or from the official releases on GitHub. Unofficial copies can be modified or contain malicious code, so only continue with a copy from one of these sources. Click Yes, Next.
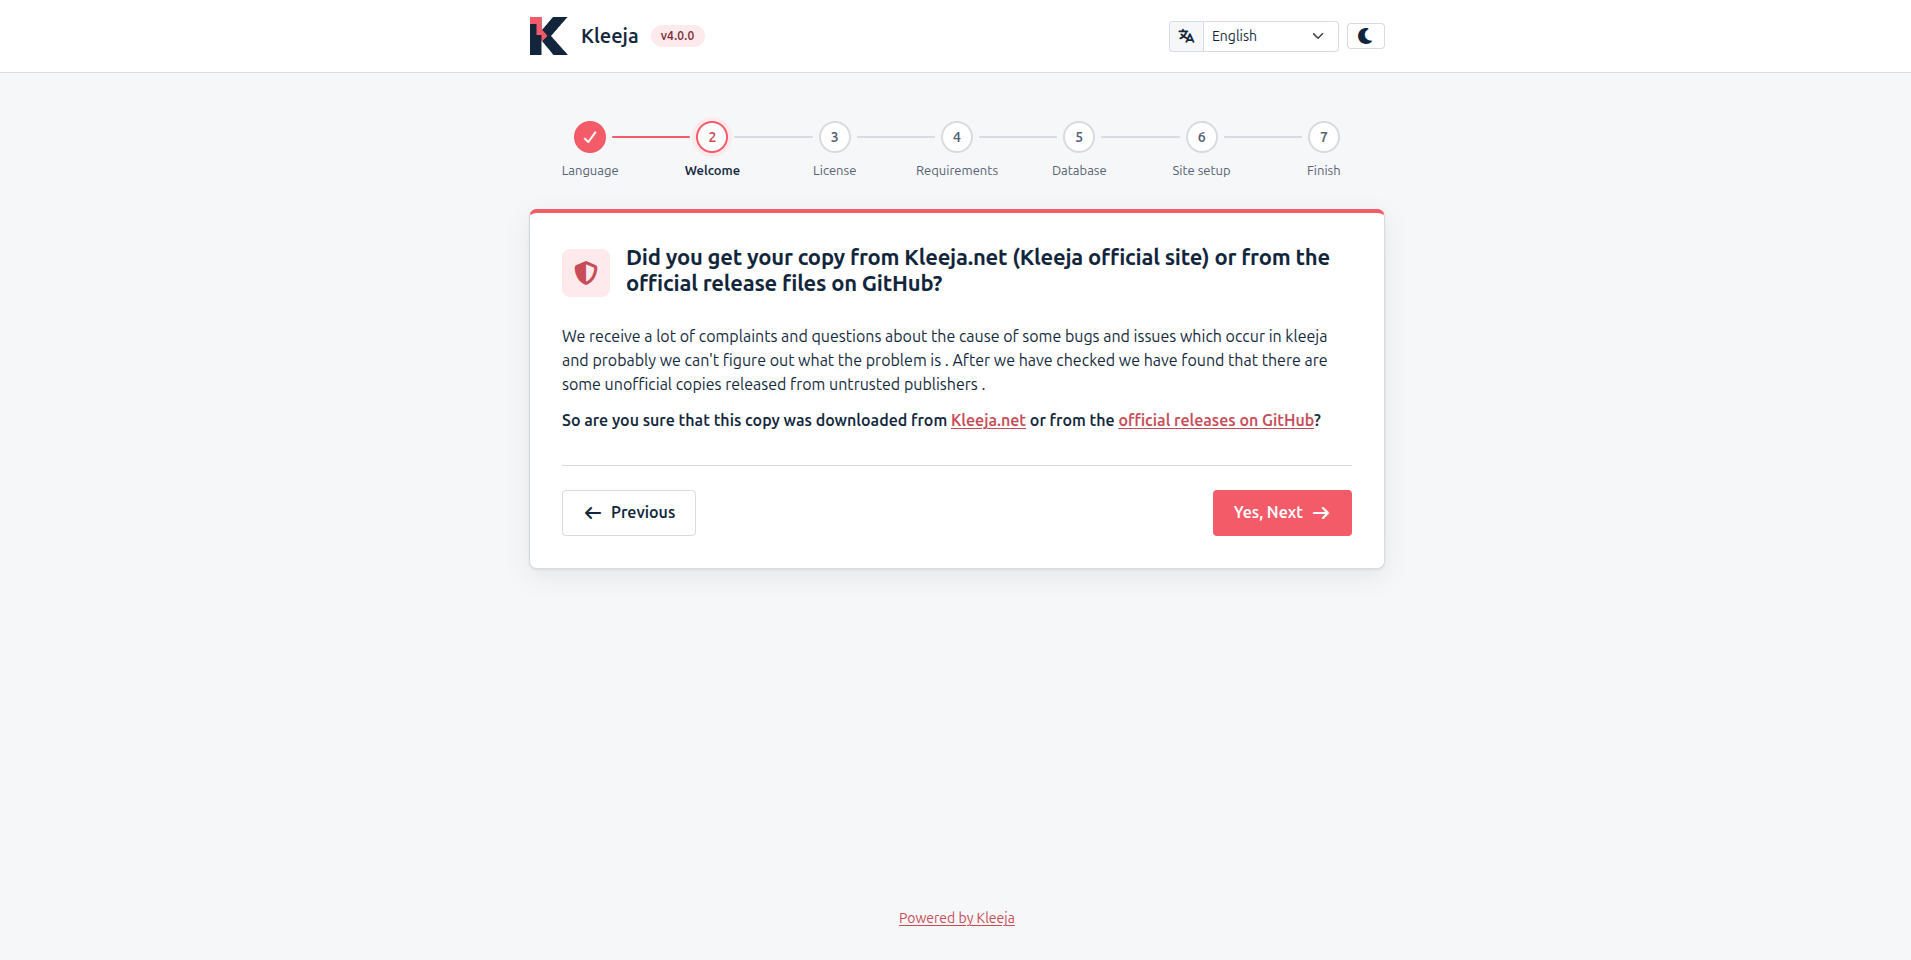
Kleeja then checks your PHP version and moves on to the license by itself.
Accept the license
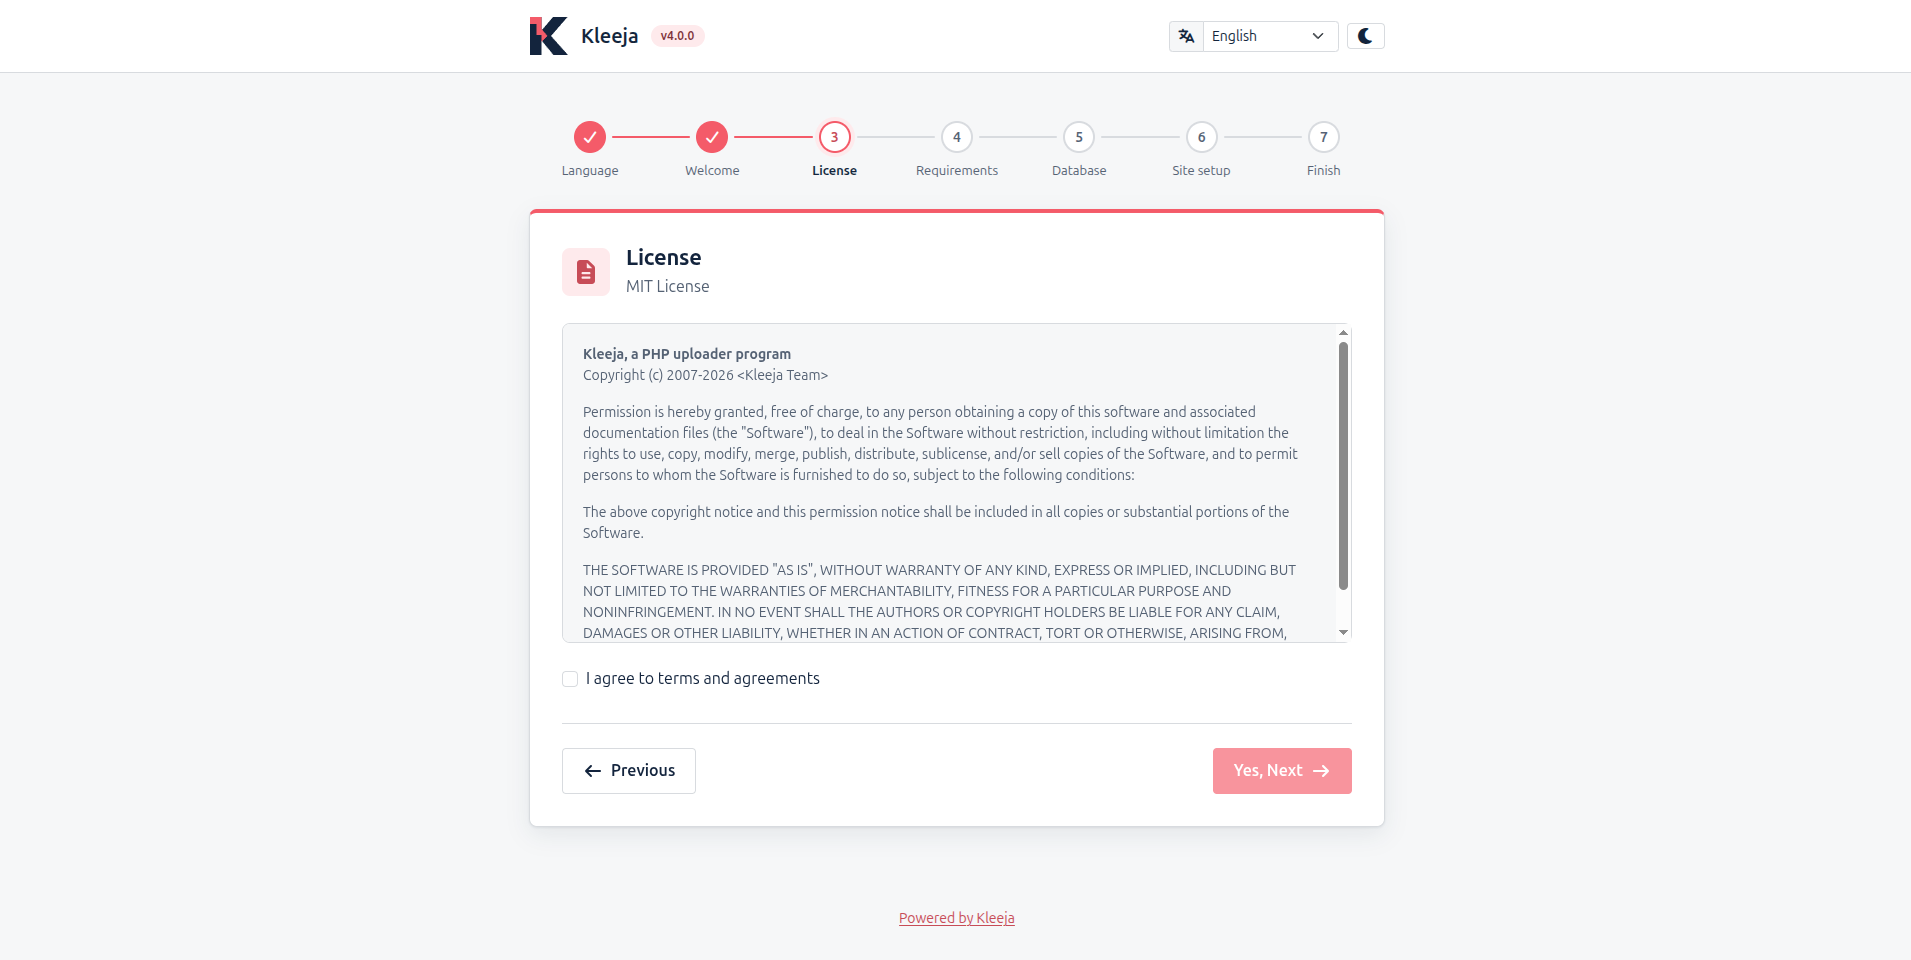
Kleeja is released under the MIT License. Read it, tick I agree to terms and agreements, then click Yes, Next. The button stays disabled until you tick the box.
Check the requirements
Kleeja checks that the PHP functions and extensions it needs are enabled on your server: unlink, imagecreatetruecolor from the GD library, fopen, move_uploaded_file and the PDO extension. When every item has a green check mark, click Next.
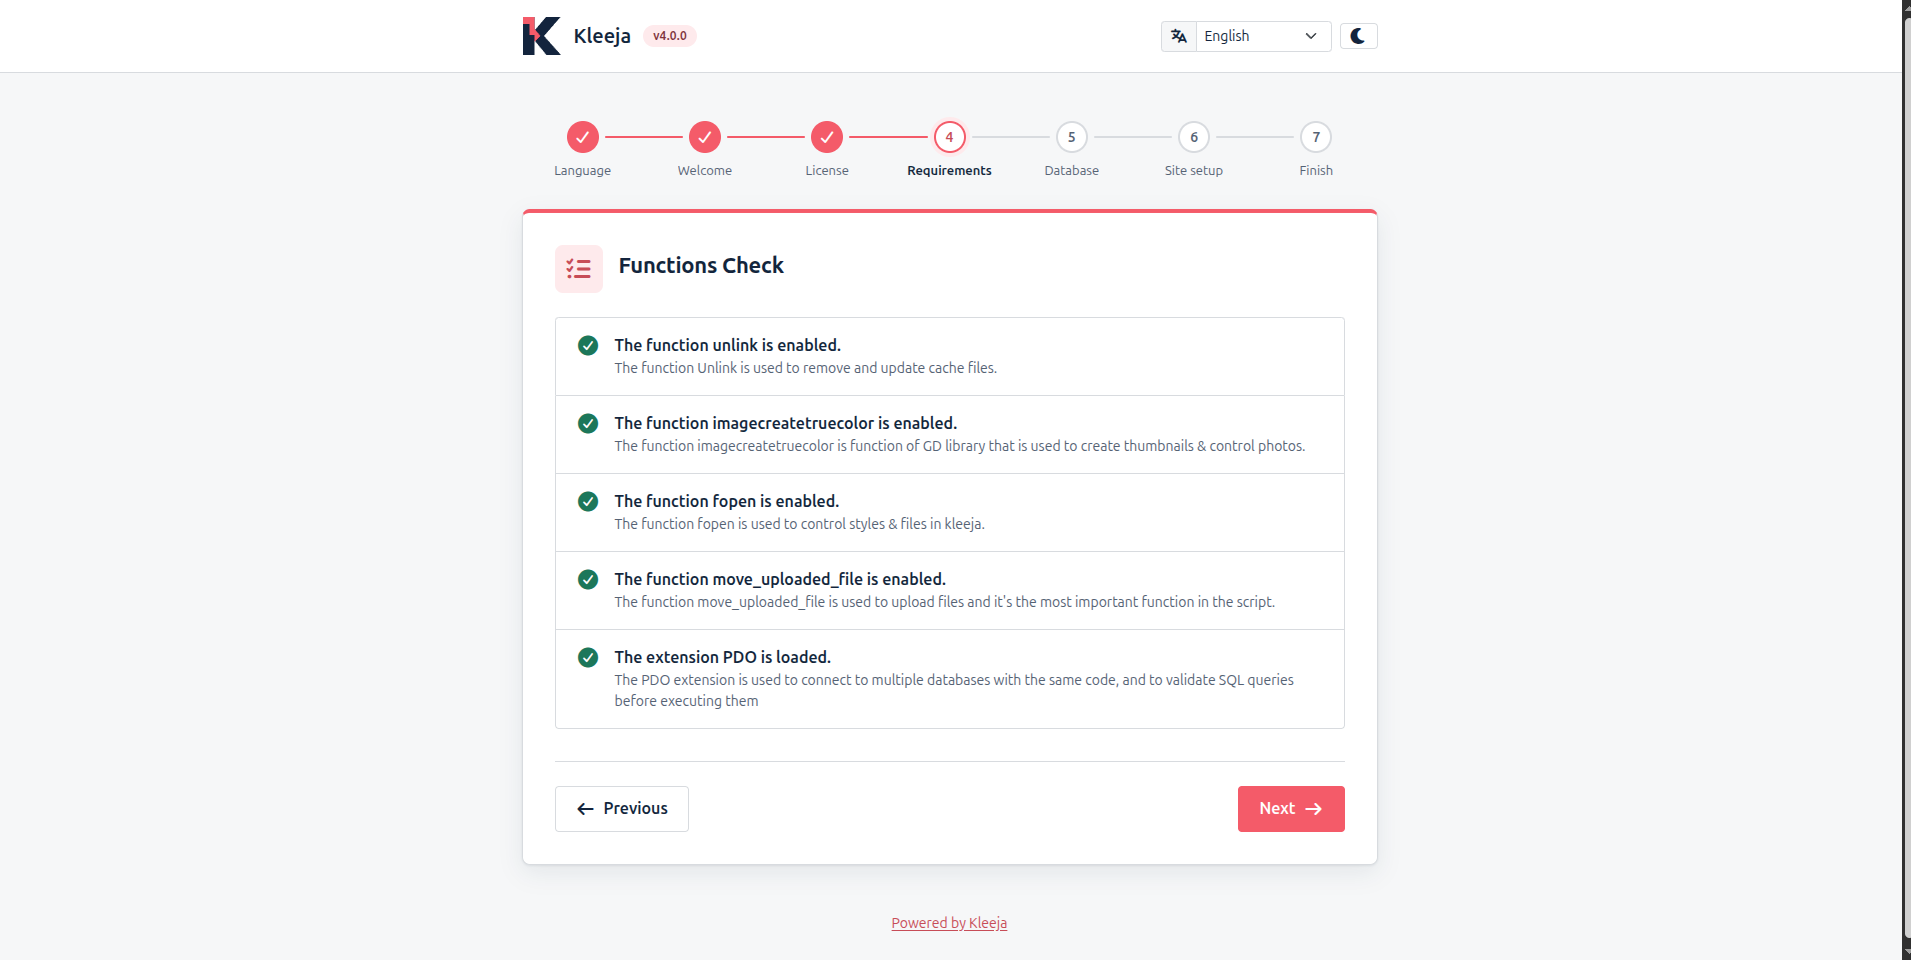
If an item fails, ask your host to enable it, then click ReCheck.
Enter the database information
Fill in your database details and click Next:
- Database type: MySQL. SQLite also appears here when your server supports it.
- Host: the database server, usually
localhost. - Tables prefix: added to the start of every Kleeja table name. Keep the default
klj_unless you need another one. - Database Name, Database Username and Database Password: the details of the database you created for Kleeja.
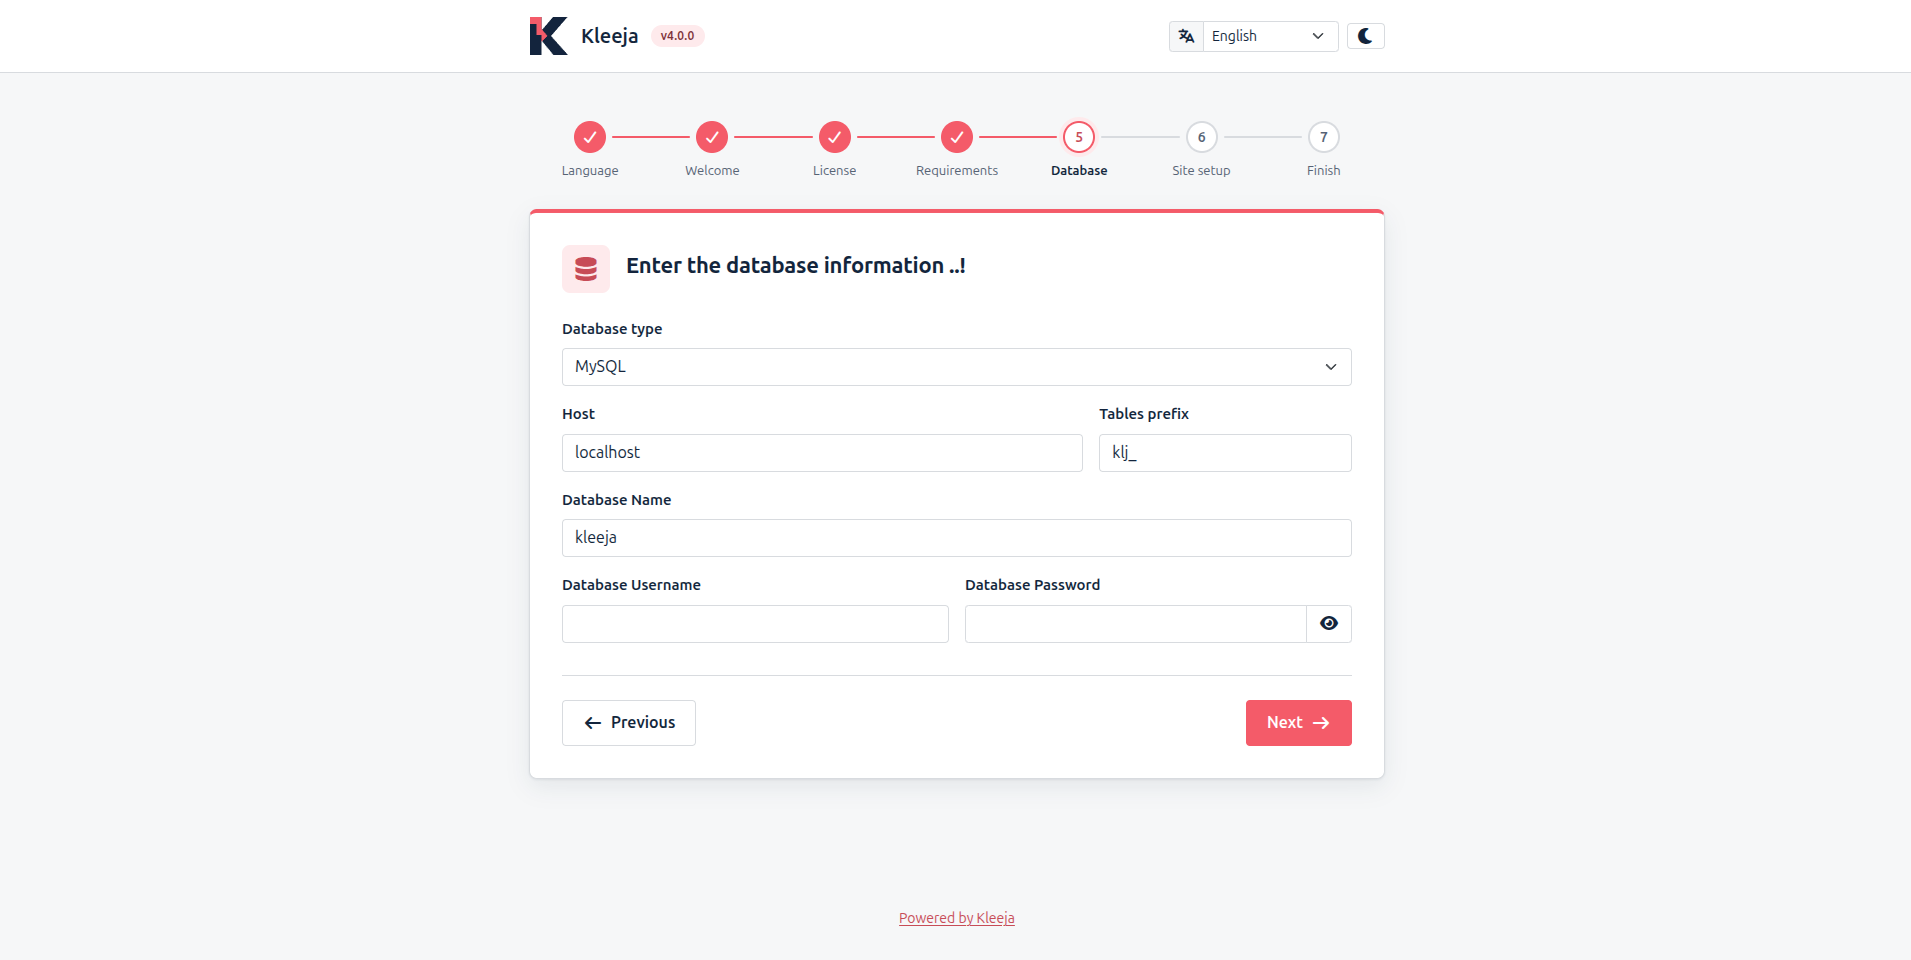
If you choose SQLite, only the database name is needed. Kleeja creates the database as a file with that name, such as kleeja.db, in its root folder.
Save the configuration file
Kleeja saves your database details to config.php in its root folder. When the file is in place, the wizard shows Config.php was found, Continue.... Click Next.
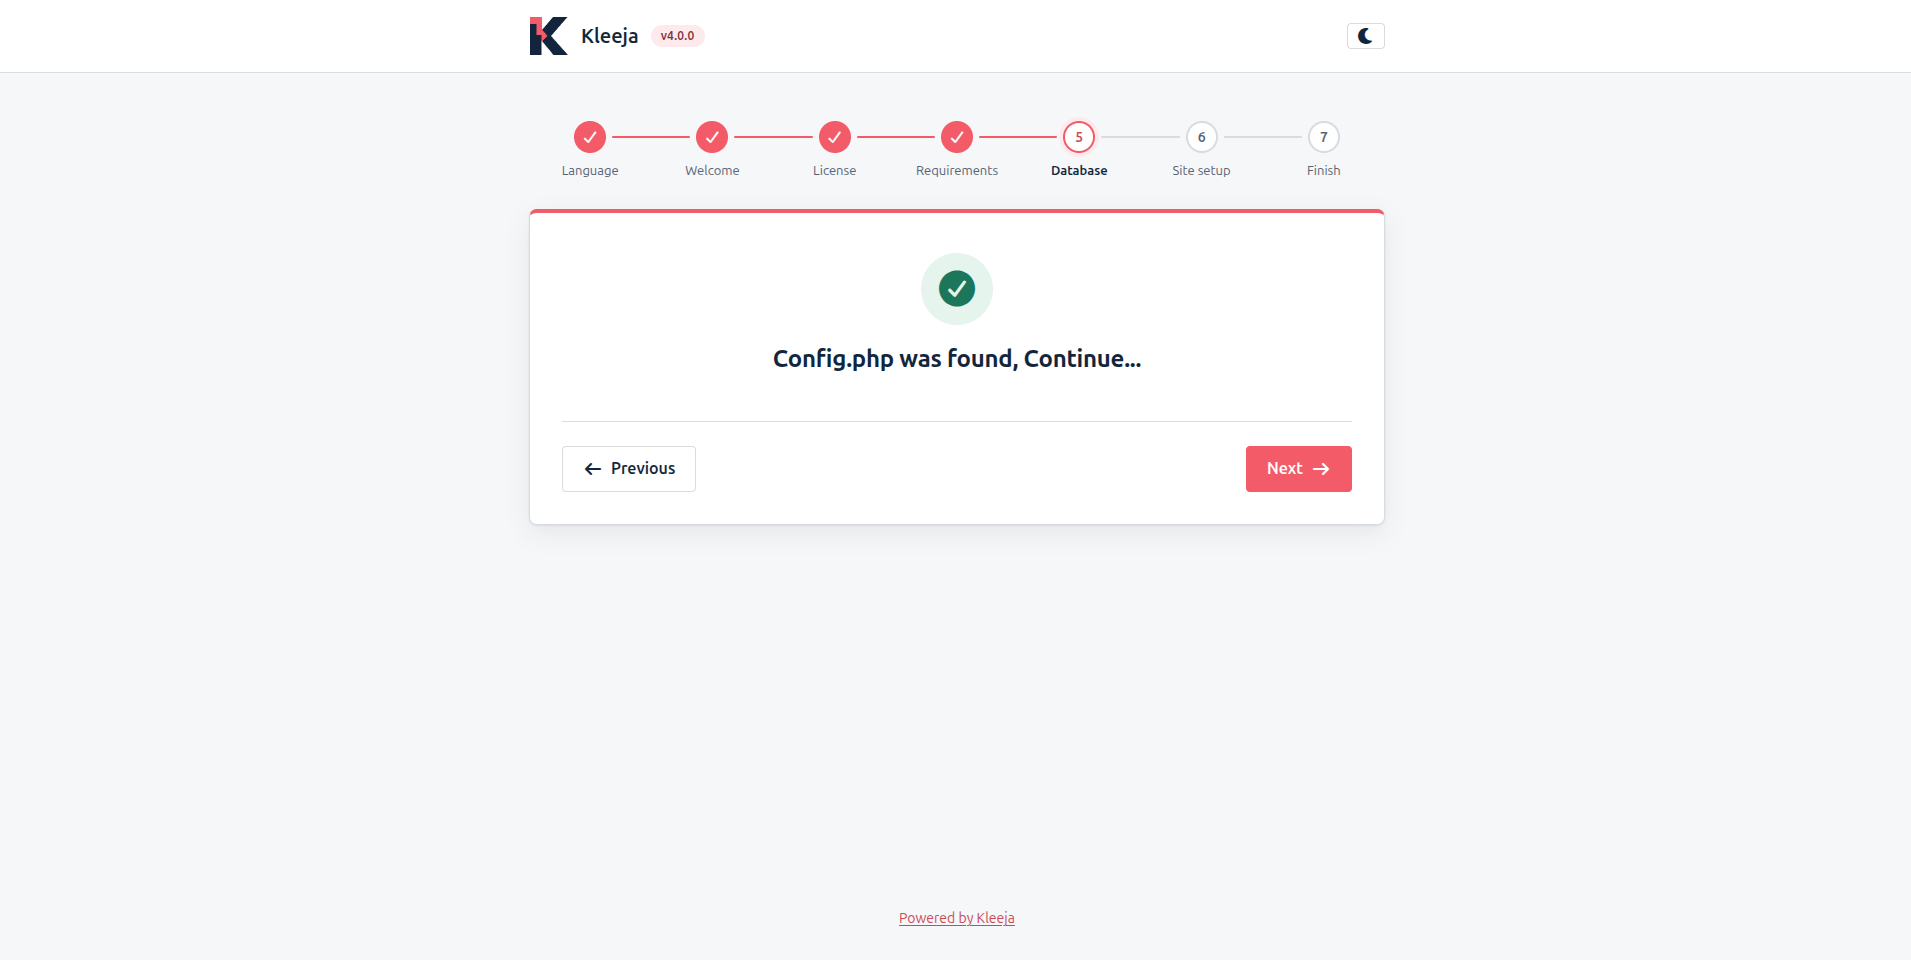
If Kleeja cannot write to its root folder, the database form shows an Export File button instead of Next. Click it to download config.php, upload the file to the Kleeja root folder, then click Next.
Check the connection
Kleeja connects to the database and checks that the cache, uploads and uploads/thumbs folders are writable. When you see Everything seems to be OK .... continue, click Next.
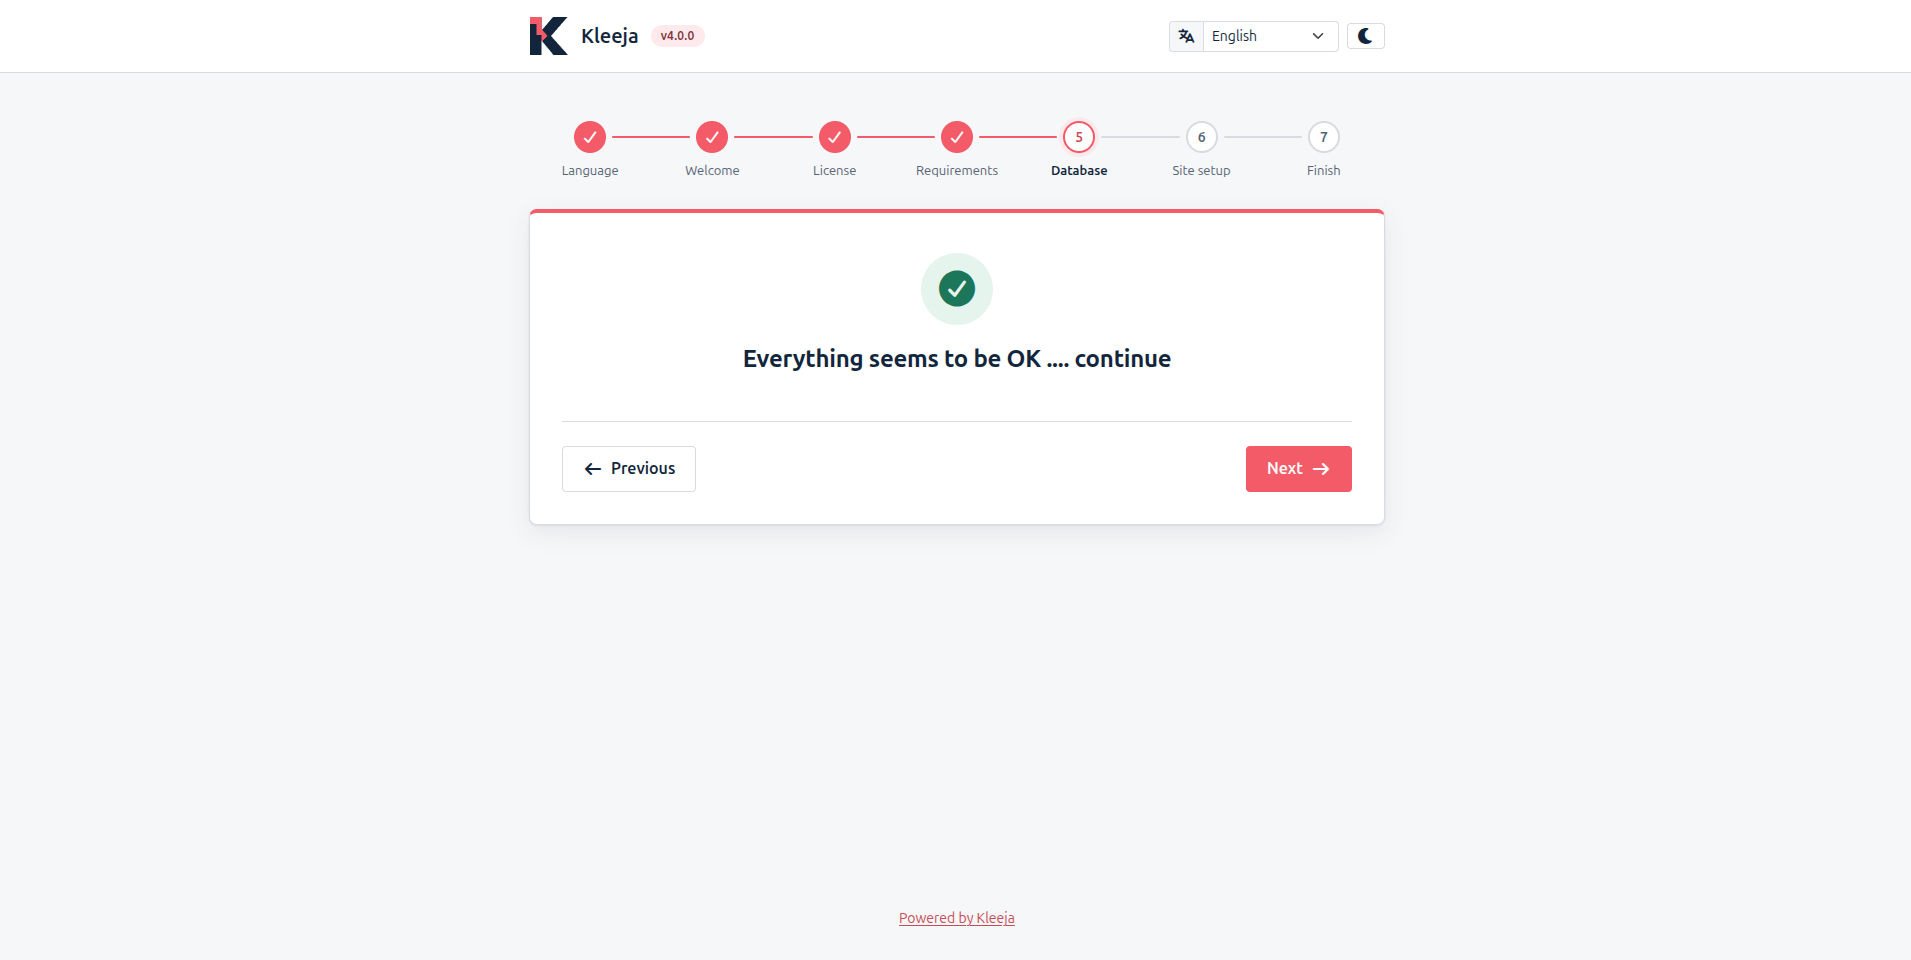
If a check fails, the wizard lists the problems. Fix them, then click ReCheck.
Set up your site
The Site setup form has three sections. Every field is required.
- Site Info: the website title, the website URL and the website email. Kleeja fills in the URL for you, so check that it matches your real address.
- Admin Info: the username, email and password of the admin account. You use this account to sign in to the control panel.
- Other info: your time zone and the style of file URLs. The Example box previews what a file link looks like.
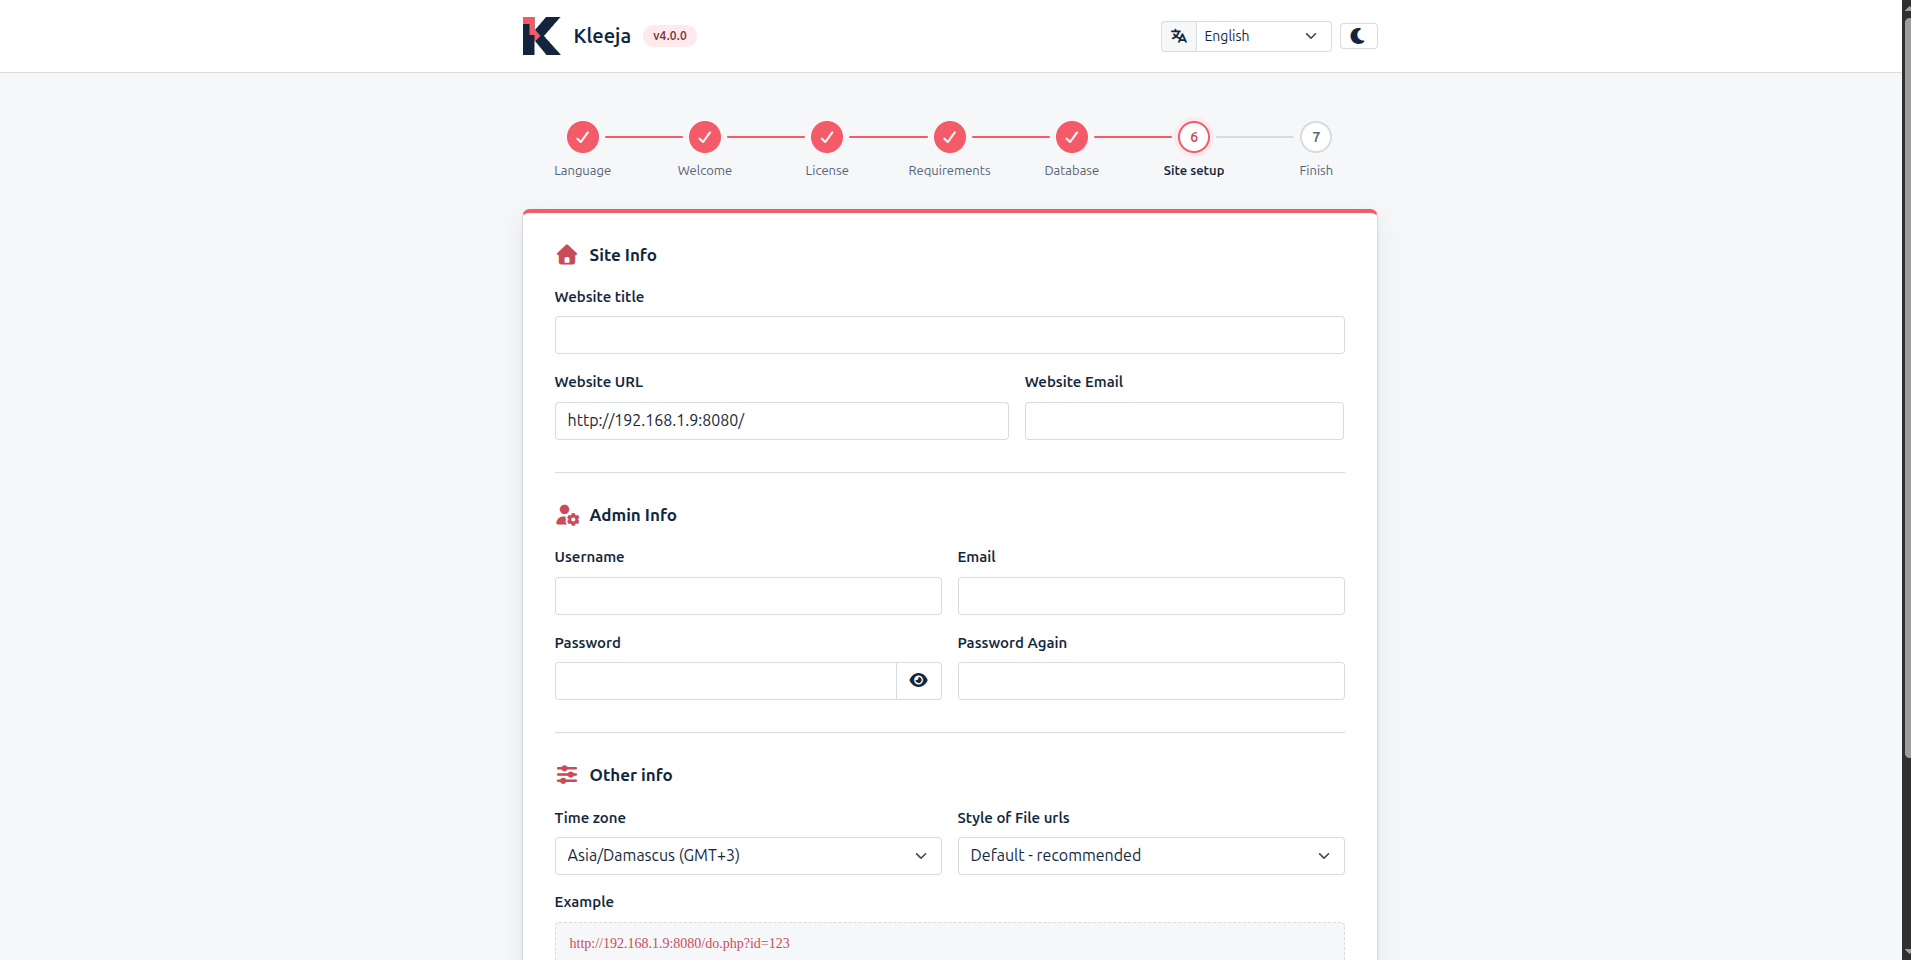
The style of file URLs controls the links your visitors get after uploading:
| Style | Example link |
|---|---|
| Default - recommended | example.com/do.php?id=123 |
| Filename | example.com/do.php?filename=12542219930.gif |
| Direct links - no stats | example.com/uploads/12542219930.gif |
Direct links point straight to the file, so Kleeja cannot count downloads for them.
Click Next at the bottom of the form.
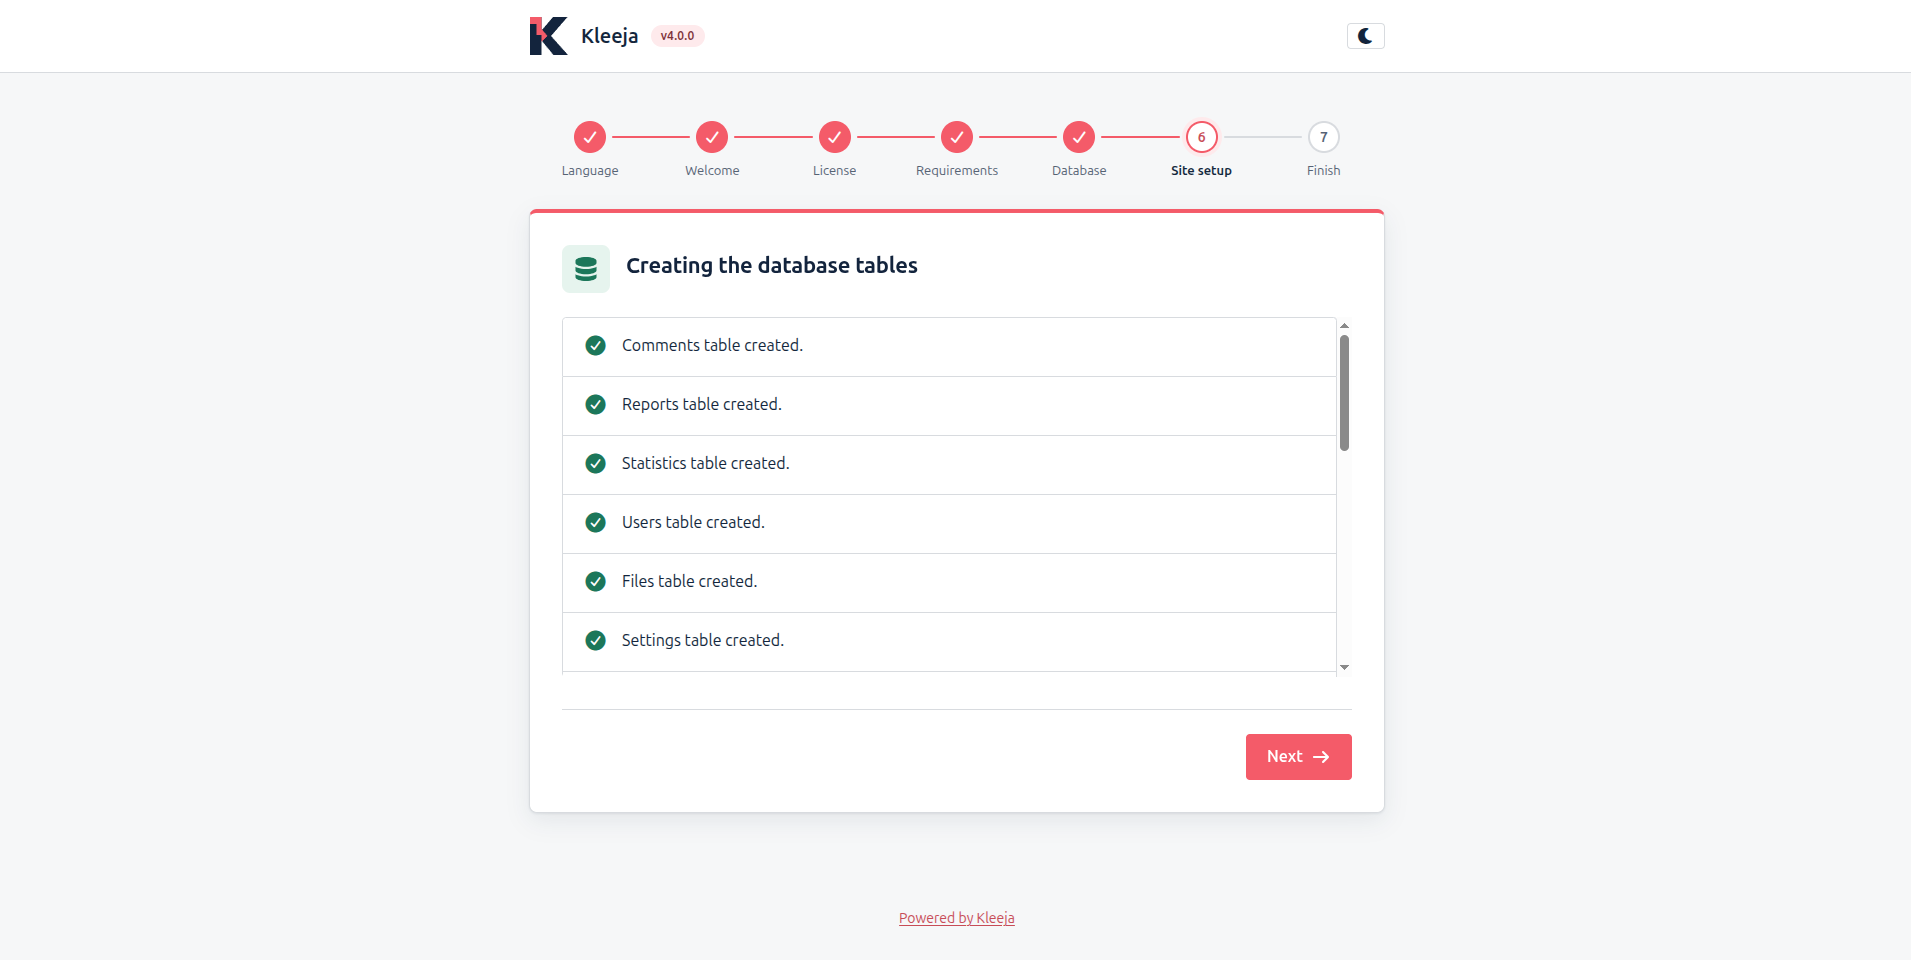
Create the database tables
Kleeja creates its database tables and lists each one as it finishes. Click Next.
Delete the install folder
Kleeja shows Kleeja was installed successfully. Delete the install folder from your server, then use the buttons to open your site's Home page or the Control Panel.
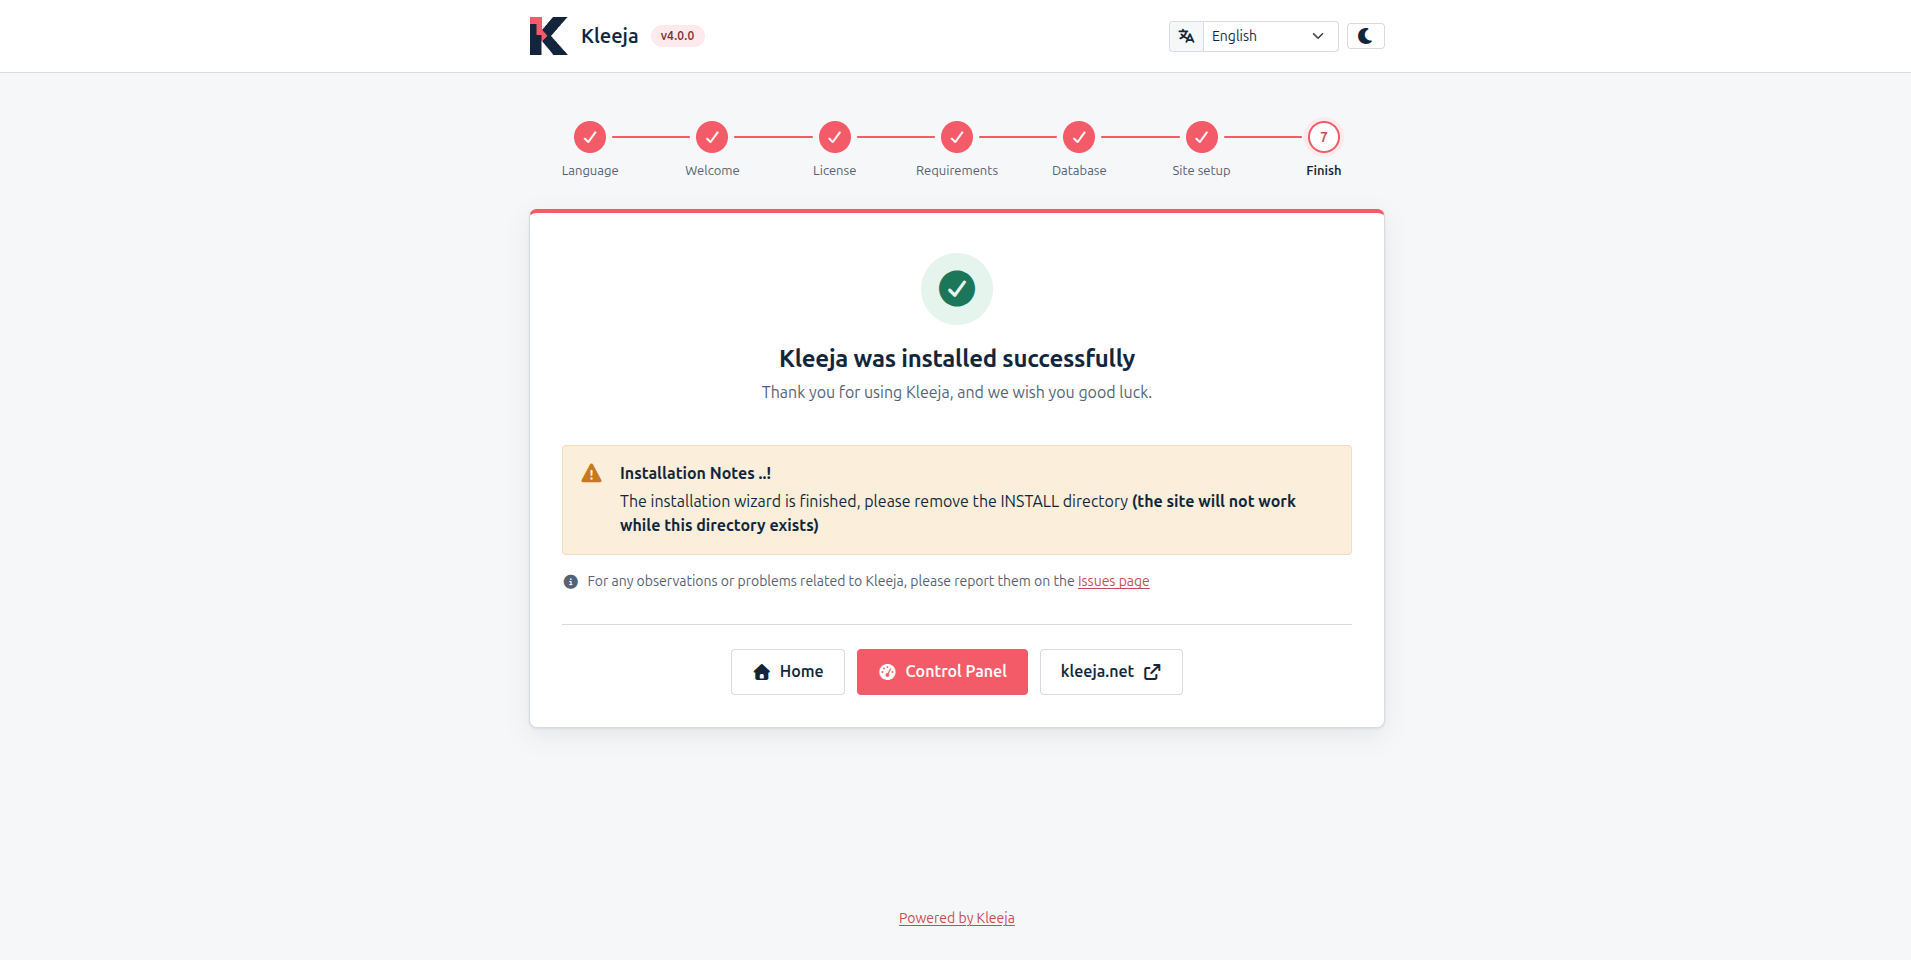
install folder. Visitors see a "site closed" message, but you can still sign in to the control panel.After the installation
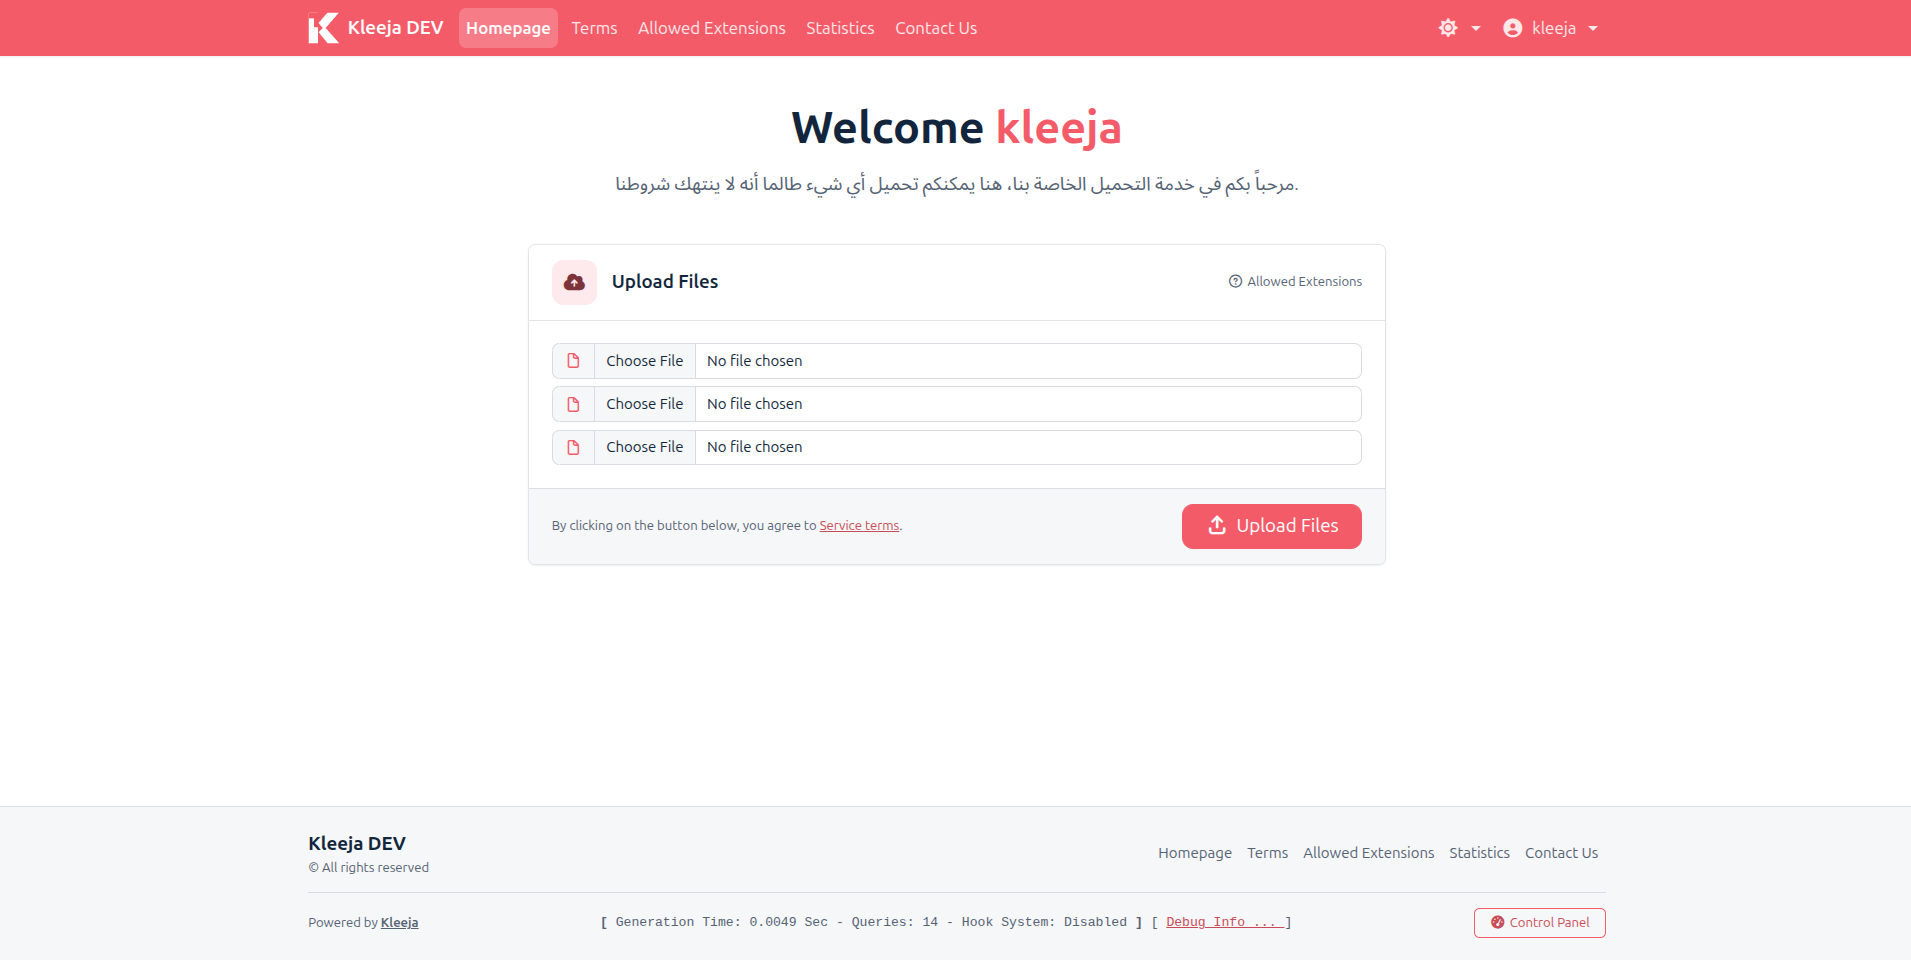
Your upload center is ready. Visitors upload files from the home page:
You manage everything else from the control panel at example.com/kleeja/admin:
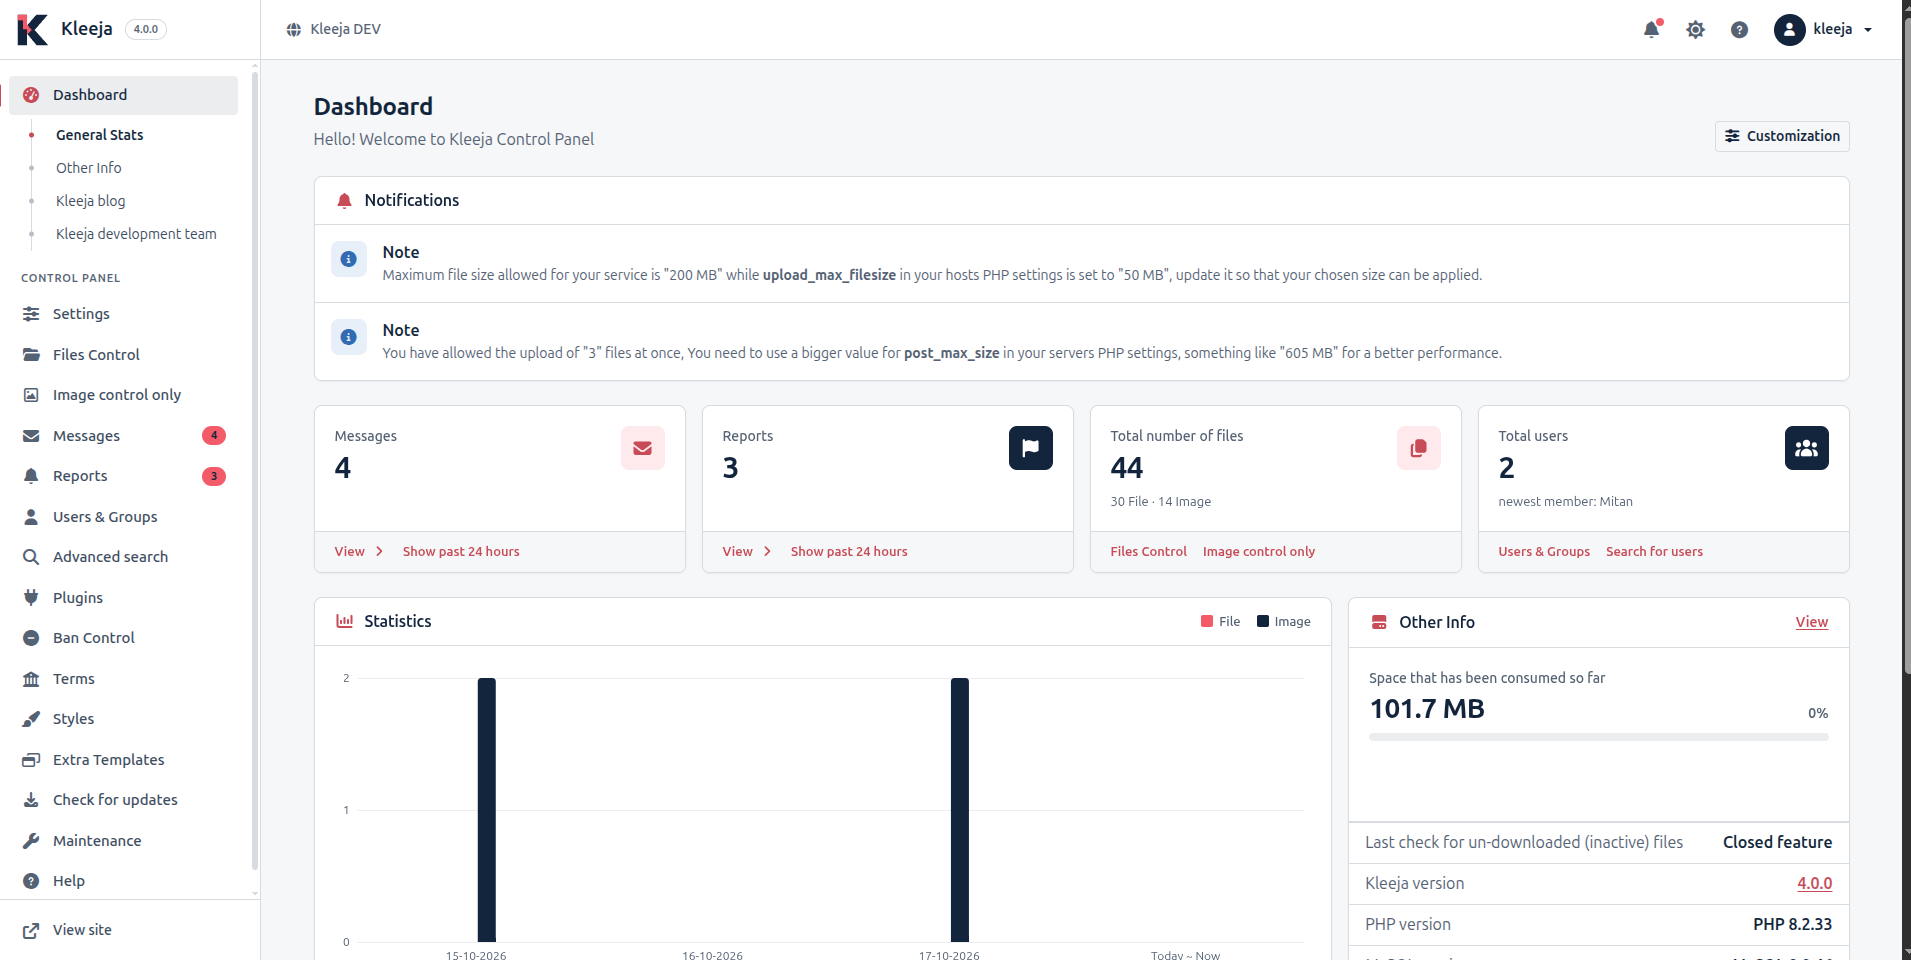
From the control panel you can change your settings and add styles and plugins.