
Install Styles
Installing a style on Kleeja is easy and effortless. This article works for both old and recent versions of Kleeja.
Install from the Kleeja Store
Kleeja ships with a built-in store, so you rarely need to hunt for a style yourself. From the Kleeja Admin Panel, open the Styles page and switch to the Kleeja Store tab.
The store lists the official styles with a preview image and the latest version. Click Install next to the one you want, and Kleeja downloads the archive and unpacks it into your styles folder. Set it as the default style afterwards.
The store offers the same styles this website lists on the Plugins & Styles page.
Find a style for Kleeja
Install a style from a file when it is not in the store, or when your server cannot reach the store.
After finding a style that you like, download it to your computer.
zip archive file.
Upload it to Kleeja
From the Kleeja Admin Panel, go to the Styles page, then click on the upload from your computer button.
Set it as default
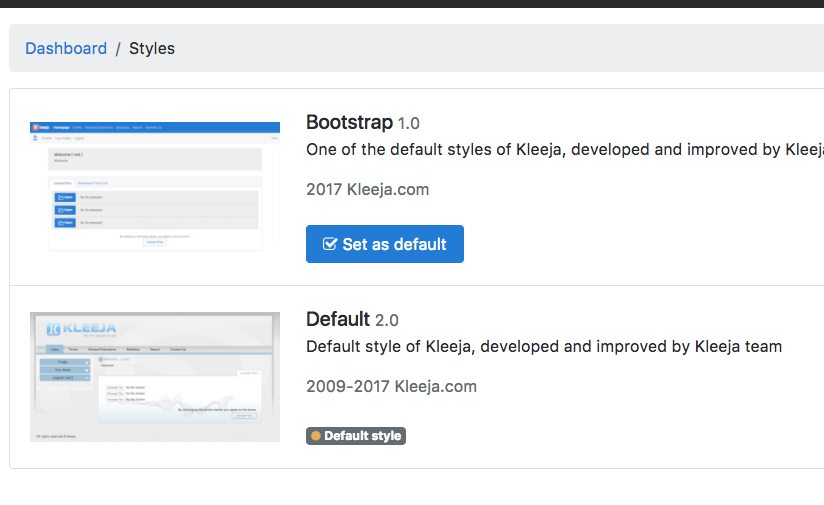
After uploading the style, you can set it as the default style from the Styles page in the Kleeja Admin Panel.
If you did the steps correctly, you will find the style listed there with a set as default option.