

Installation
Download Kleeja
Download the latest version of Kleeja from the releases page:
Upload Kleeja files to your website
After downloading Kleeja you will have a zip archive. Extract it and you will get a folder titled kleeja.
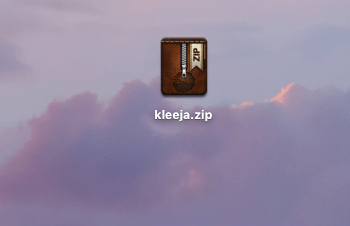
- The
kleejafolder is what you have to upload to your website using any FTP application. - You can rename the
kleejafolder to anything you like, such asup— short for upload. - If you don't want Kleeja to live in a sub-folder, upload only the contents of the
kleejafolder to your website. You will then get Kleeja onexample.cominstead ofexample.com/kleeja.
Request the Kleeja installation wizard
Using any browser, request this link:
example.com/kleeja/install
Where:
example.comis your domain.kleejais the folder where you uploaded the Kleeja contents.
Installation wizard steps
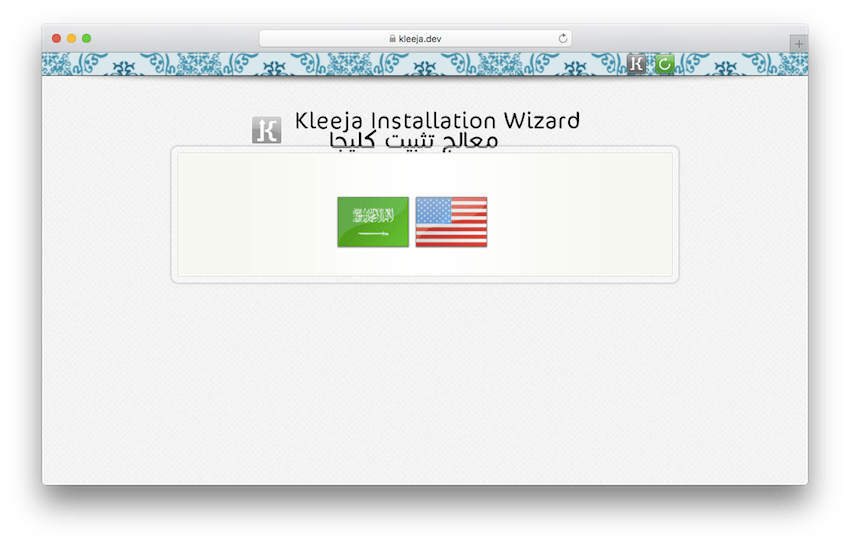
Choose your language
The first step gives you a list of languages — choose yours.
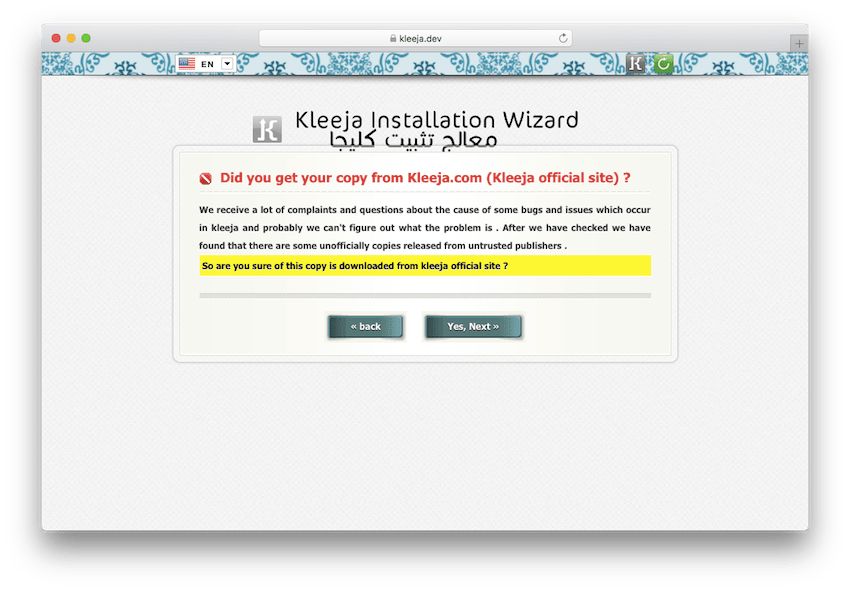
Read the information about Kleeja
Then you will see information about Kleeja. Click next.
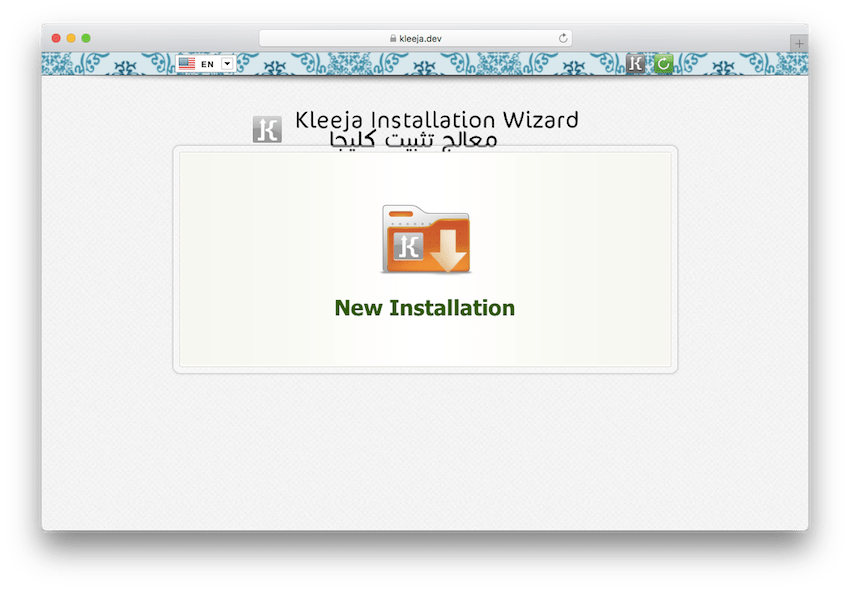
Start the installation
A step with an install icon appears. Click install.
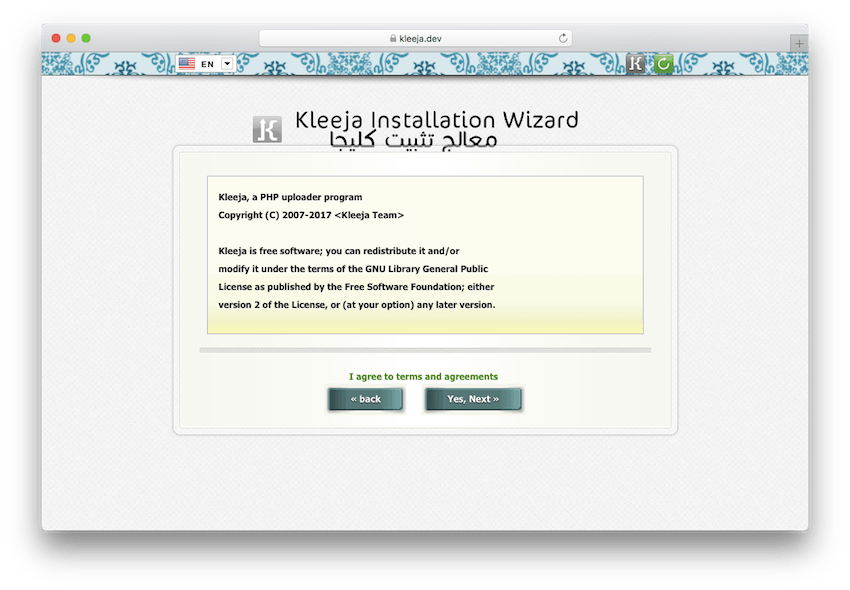
Accept the license
The license page is shown. Click next to accept it.
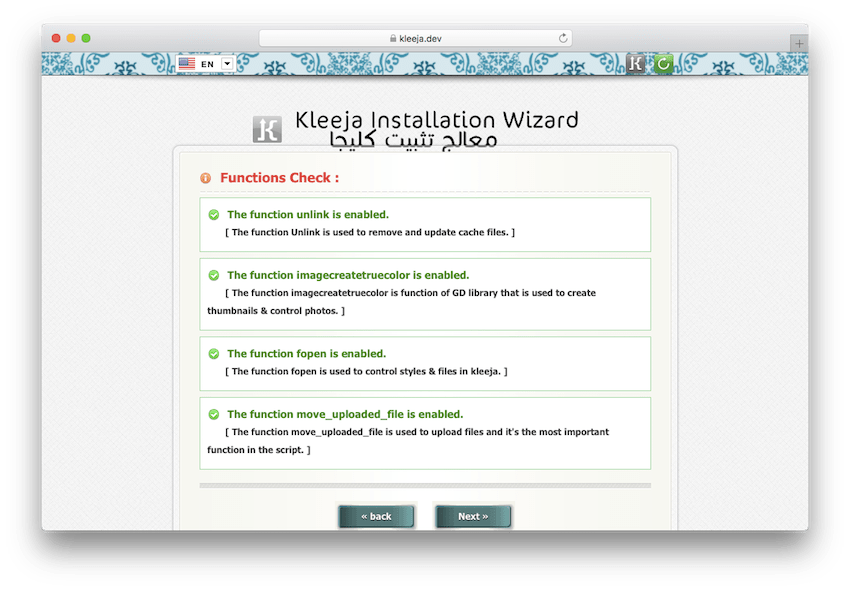
Check the server functions
Kleeja checks the server functions. If nothing is wrong, a next button appears — click it. Otherwise, make sure you fix the errors shown before moving on.
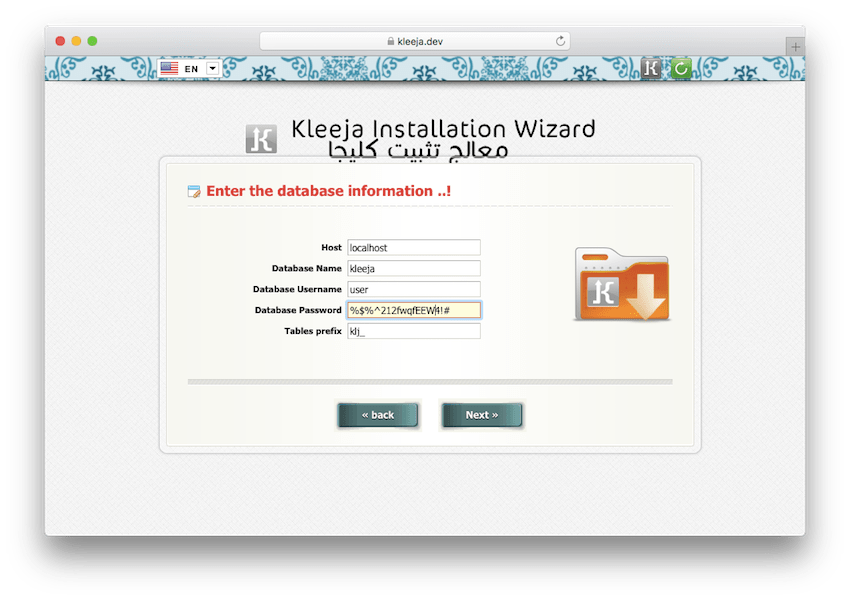
Fill in the database information
The next step requires your database information. Fill it in and click next.
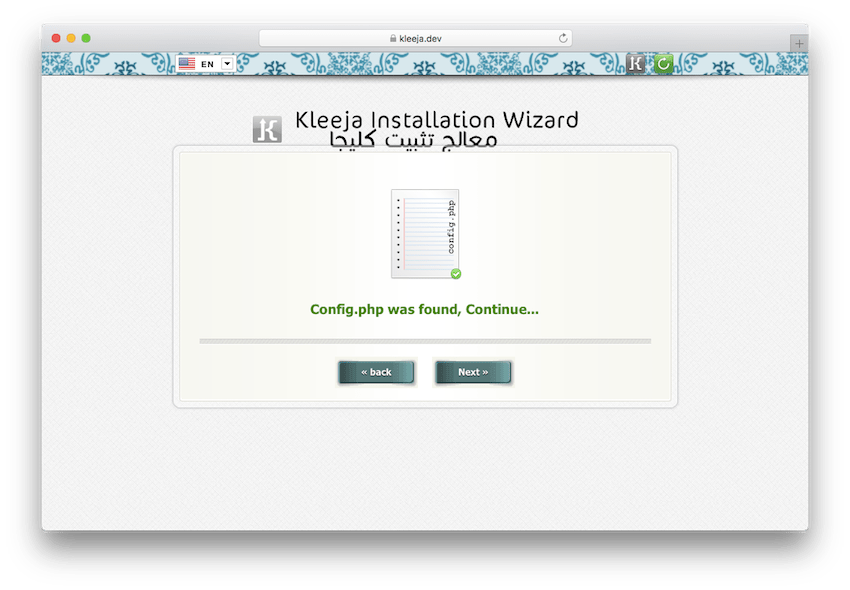
Create the configuration file
Kleeja tries to create the configuration file in this step. If Kleeja cannot create it, the file is given to you so you can upload it manually before continuing.
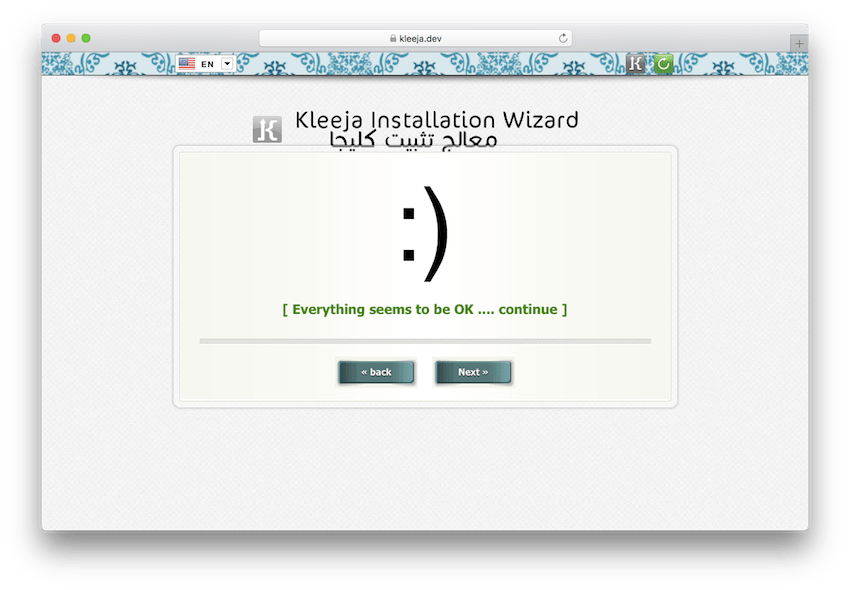
Check the connection
Kleeja checks the connection and the MySQL version. Click next if everything is OK.
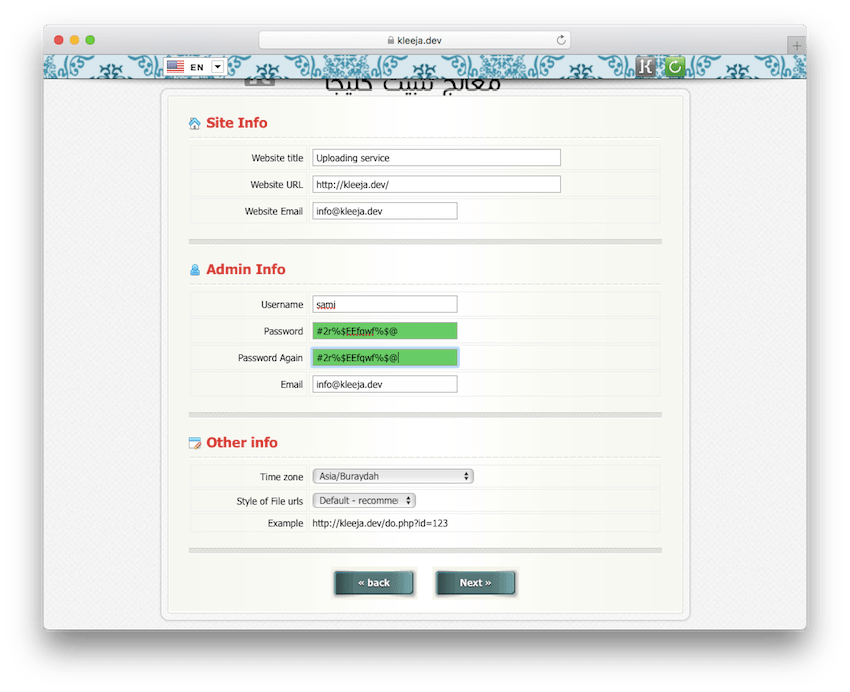
Fill in your site information
Kleeja asks you to fill in some information about your site, such as the website name and your admin account.
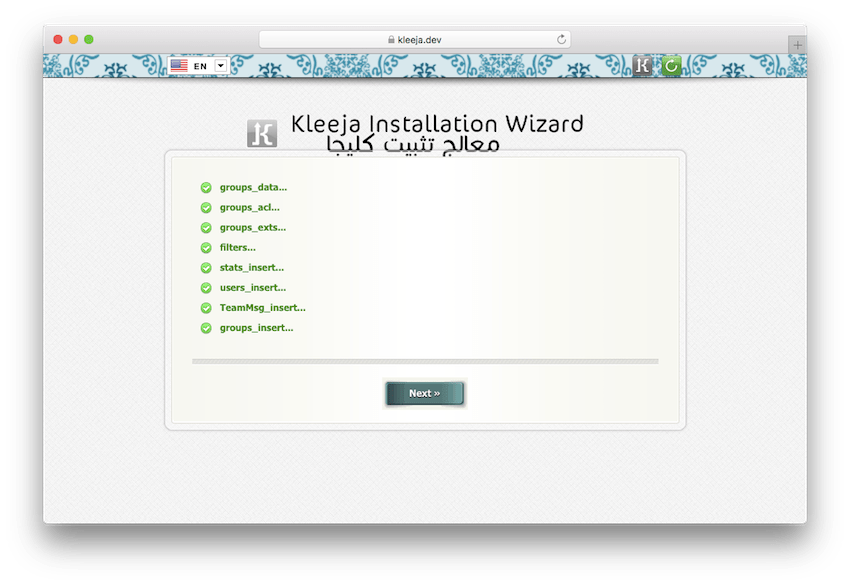
Create the database tables
Kleeja then creates the database tables. Click next.
Delete the install folder
Congratulations, Kleeja is installed. All you have to do now is delete the install folder.
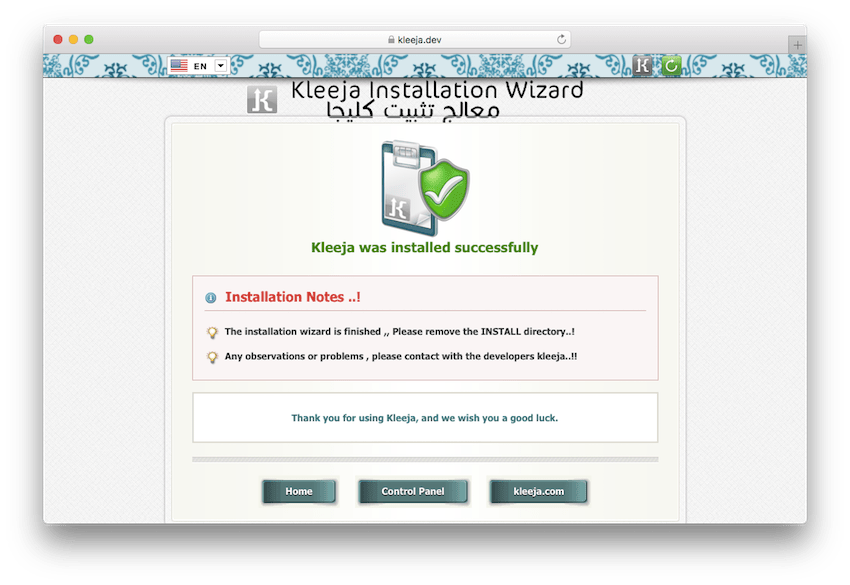
install folder on your server after the installation is a security risk. Delete it before using your upload center.